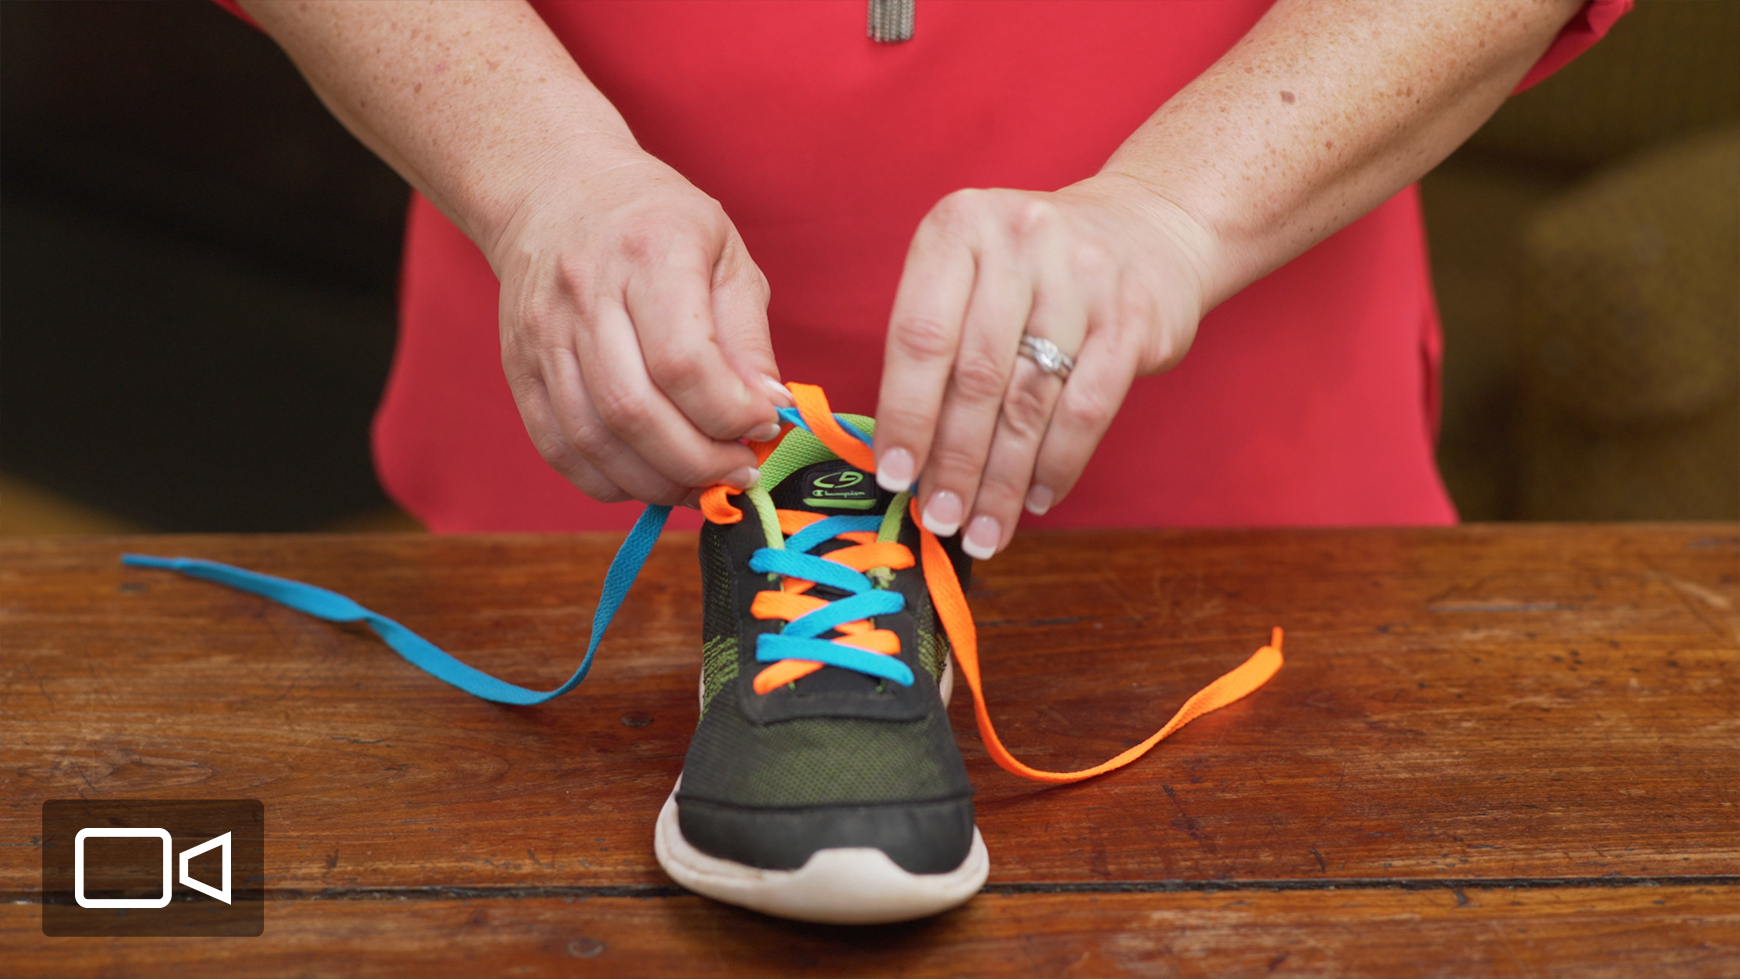
Simple Steps for Tying Shoel Strings: A Beginner’s Guide
Learning how to tie your shoe laces may seem small, but mastering this skill brings confidence, independence, and a polished look to every step you take. Whether you’re shifting from socks to sneakers or teaching kids to lace their own shoes, having a reliable method makes a world of difference. The good news? Simple steps for tying shoe strings are easier than you think—and fast, secure, and adaptable for every style and shoe type.Why Mastering Shoelace Knots Matters
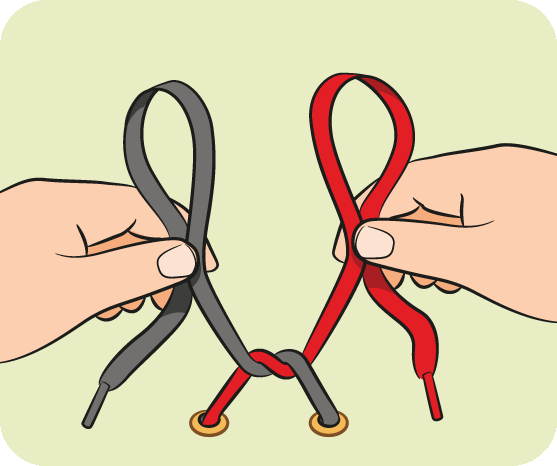
Step 3: Cross and Secure the Second Loop
Open both laces and cross the second lace over the first, aligning it horizontally. Now, bring the end of the second lace up and tuck it under the first loop, forming a knot shape. Pull gently but firmly—this compression is key. The knot should feel snug against the shoe, not overly tight, preserving tightness without stress on the fabric.
Step 4: Finish with Precision
Hold the knot steady with one hand and gently adjust the loops for symmetry. Use light tugs to shrink the knot and lock the finish. Avoid over-pulling, which can loosen or break the lace ends. The final step solidifies security—simple, effective, and repeatable for every wear.
Practice Makes Perfect
Like any skill, tying shoelaces improves with practice. Try the method slowly, focusing on hand position and loop alignment. For quick results, experiment with turns (like slow bunny ears) before committing—this builds muscle memory smoothly. Kids especially benefit from short, playful sessions; pair it with encouraging words to build confidence. Remember, these simple steps for tying shoelaces empower independence, turning daily routines into moments of growth.
Bonus Tips for Speed and Style
- Use a knotted start: Tie a small loop with one lace before weaving—cuts down fumbling.
- Master loops first: Practice bunny ears alone to master tension control.
- Try speed tying: Some use two or three turns for faster, secure results.
- Hide excess laces: For slip-ons or modern footwear, tuck or knot laces neatly to minimize bulk.
Whether tied with classic bunny ears or a sleek Ian Knot, the act of mastering these methods brings freedom and confidence. Pick one method—start with the standard bow, then explore more once confident. With consistent practice, tying shoelaces transforms from a chore into a quiet win each day.
Conclusion: Start Today, Tie with Confidence
Mastering how to tie shoelaces is more than a practical skill—it’s a gateway to self-reliance. These simple steps for tying shoe strings set the stage for success, whether for you or a growing child. Begin today with patience, enjoy the rhythm of loops and pulls, and soon, every shoelace ties with clarity and strength. Here, every knot tells a story of growth—and each step brings you closer to mastery.

Moving forward, it's essential to keep these visual contexts in mind when discussing Simple Steps For Tying Shoe Strings.
 - wikiHow")

")


