Setting up Wi-Fi on your Windows 11 Machine: A Step-by-Step Guide
If you're new to Windows 11 or simply looking for a hassle-free way to connect to a Wi-Fi network, this article is for you. In this comprehensive guide, we'll walk you through the process of setting up Wi-Fi on your Windows 11 machine, covering various methods, troubleshooting tips, and essential features to get you online in no time.Connect to Wi-Fi using Quick Settings
The easiest way to connect to Wi-Fi in Windows 11 is by using the Quick Settings menu. To get started, click the Quick Settings button in the far right corner of the Windows taskbar. It's a hidden button that overlaps the Wi-Fi and sound volume icons. The Quick Settings menu will pop up, allowing you to select your preferred Wi-Fi network and connect with ease.Method 1: Connect to Wi-Fi using Quick Settings
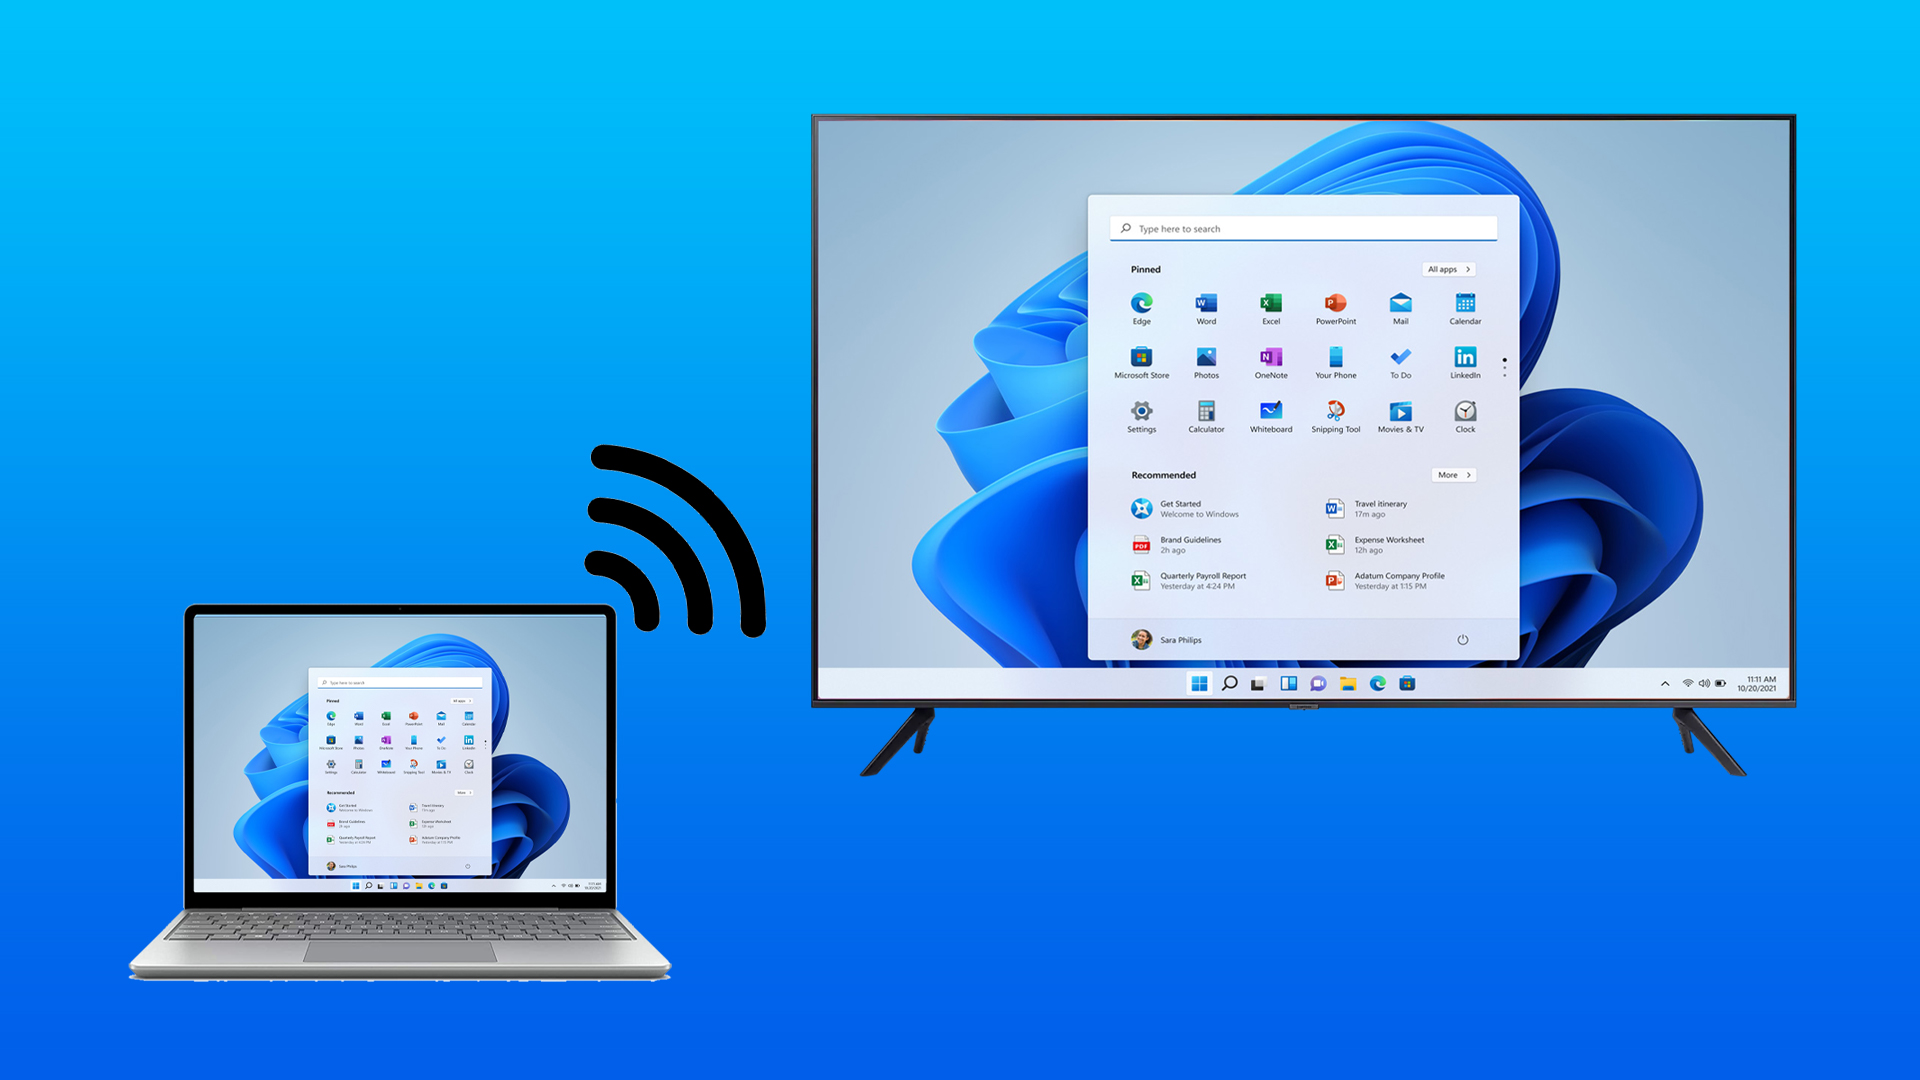
Furthermore, visual representations like the one above help us fully grasp the concept of Setting Up Wifi On Windows 11 Machine.
1. Click the Quick Settings button in the taskbar. 2. Select your preferred Wi-Fi network from the list of available networks. 3. Enter the network password and click Connect.Set up Wi-Fi in Settings
If you prefer a more traditional approach, you can set up Wi-Fi in the Settings app. Here's how:Method 2: Connect to Wi-Fi in Settings
_story.jpg)
Additional Settings for Wi-Fi
To ensure seamless connectivity and troubleshoot common issues, explore the following additional settings in the Wi-Fi section: * **Wi-Fi status**: Displays the current Wi-Fi status, including the network name, signal strength, and data transmission speed. * **Wi-Fi security**: Allows you to change the Wi-Fi security settings, such as encryption type and network authentication. * **Wi-Fi channel**: Enables you to manually configure the Wi-Fi channel to minimize interference from other devices.Troubleshoot Wi-Fi Connectivity Issues
As we can see from the illustration, Setting Up Wifi On Windows 11 Machine has many fascinating aspects to explore.
If you're experiencing problems connecting to your Wi-Fi network, try the following troubleshooting steps: * **Restart your router**: This can often resolve connectivity issues caused by a router reset or software update. * **Check your network details**: Ensure you're using the correct network name, password, and other settings. * **Update your Wi-Fi drivers**: Make sure your Wi-Fi drivers are up to date to ensure compatibility with the latest wireless technology. If you're having trouble enabling Wi-Fi on your Windows 11 machine, follow these steps: 1. Go to Settings > Network & internet. 2. Select the Wi-Fi tab. 3. Toggle the switch to enable Wi-Fi. 4. Click Save changes. To create a virtual network adapter in Windows 11, follow these steps: 1. Go to Settings > Network & internet. 2. Select the Ethernet tab. 3. Click on the Add a virtual network adapter link. 4. Follow the prompts to create a new virtual network adapter.
 network (Windows) | Brother")


")


")


 | HP® Support")


