Setting up Backup on Windows 11 Laptop: A Comprehensive Guide
Are you looking for ways to protect your important files and settings on your Windows 11 laptop? Having a backup system in place is crucial to ensure that your data is safe and secure. In this article, we will guide you through the process of setting up backup on your Windows 11 laptop using various tools and methods.
Why Backup is Important
Backing up your laptop data is essential to prevent data loss due to technical issues, malware attacks, or hardware failures. With a backup system, you can easily restore your files and settings in case of a disaster. Additionally, backing up your data regularly can also help you keep your files up-to-date and synchronized across multiple devices.
Available Backup Tools
Windows 11 comes with several built-in backup tools that allow you to create backups of your personal files, system image, and settings. Some of the available backup tools include:
- File History: A built-in tool that allows you to backup your personal files to an external drive or network location.
- Windows Backup: A tool that allows you to create backups of your system image, programs, and settings.
- OneDrive: A cloud-based backup service that allows you to sync your files across multiple devices.
Setting up Backup using File History
- Connect an external drive or network location: Ensure you have an external drive connected to your computer or a network location configured where you want to save your backups.
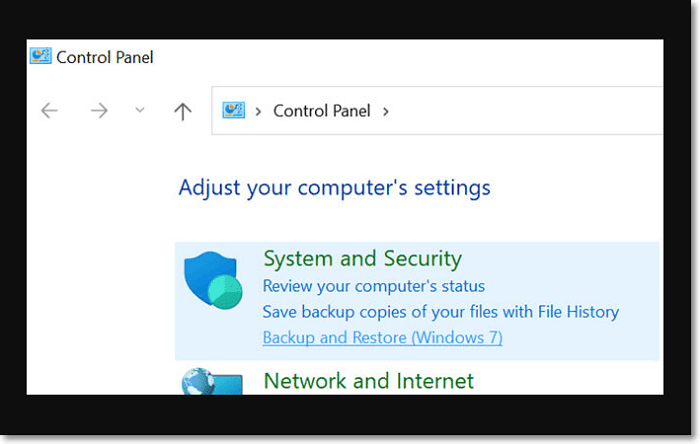
- Open the Control Panel: Click on the Start button and select Control Panel.
- Select File History: Click on System and Security and then select File History.
- Turn on File History: Select Turn on to enable File History.
- Choose the backup location: Select the external drive or network location where you want to save your backups.
- Choose the files to backup: Select the files and folders you want to backup.
Setting up Backup using Windows Backup
Windows Backup is a tool that allows you to create backups of your system image, programs, and settings. To set up Windows Backup, follow these steps:

- Open the Control Panel: Click on the Start button and select Control Panel.
- Click on System and Security: Click on System and Security.
- Click on Backup and Restore (Windows 7): Click on Backup and Restore (Windows 7) in the left-hand menu.
- Choose the backup location: Select the external drive or network location where you want to save your backups.
- Choose the files to backup: Select the files and folders you want to backup.
- Click on Start backup: Click on Start backup to create a backup.
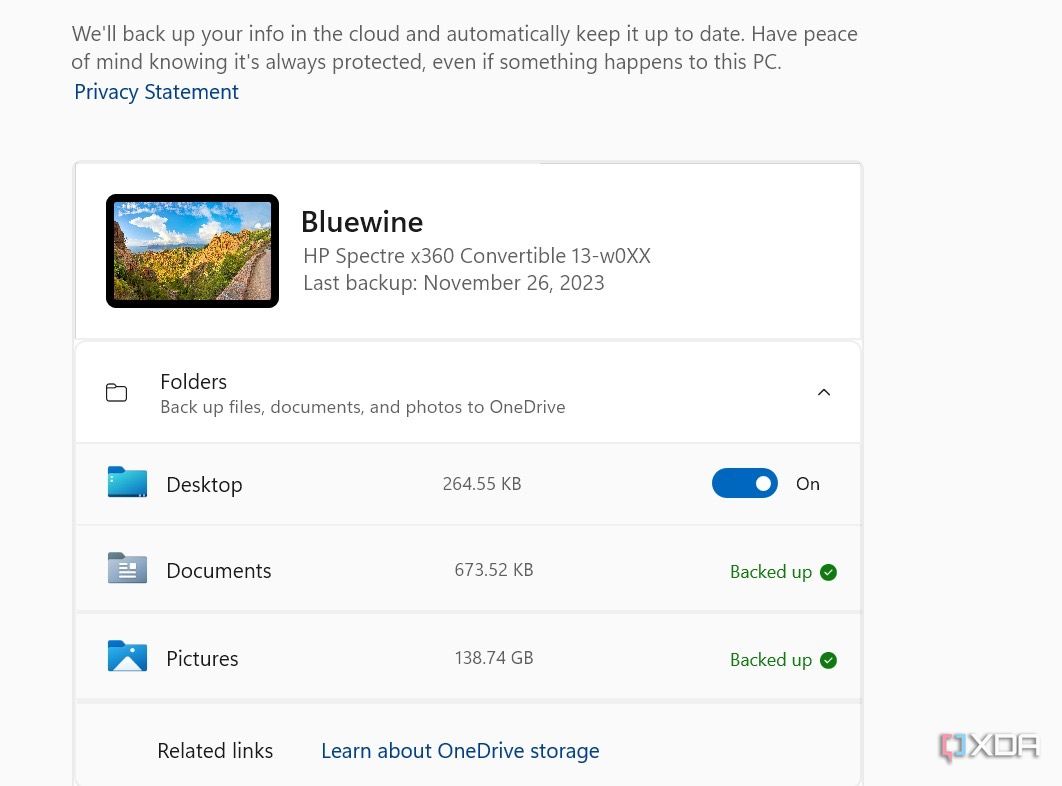
Setting up Backup using OneDrive
- Open OneDrive settings: Click on the OneDrive cloud icon in your notification area and select the OneDrive Help and Settings icon.
- Go to the Sync and Backup tab: Select the Sync and Backup tab.
- Manage backup: Select Manage backup to start the selection process.
- Choose the folders to sync: Uncheck any folders you don't want to sync to your computer and select OK.
Conclusion
Setting up backup on your Windows 11 laptop is a crucial step in protecting your important files and settings. With various backup tools available, including File History, Windows Backup, and OneDrive, you can easily create backups of your personal files, system image, and settings. By following the steps outlined in this article, you can ensure that your data is safe and secure.
Remember to regularly backup your files and settings to prevent data loss due to technical issues, malware attacks, or hardware failures. With a backup system in place, you can easily restore your files and settings in case of a disaster.
Additional Resources
For more information on setting up backup on your Windows 11 laptop, check out the following resources:
- Microsoft Support: Set up backup in Windows 11
- Tom's Hardware: How to backup Windows 11
- iCloud for Windows: Set up iCloud for Windows
Timestamp
Last updated: October 24, 2025


![Image showcasing [Windows 11/10] Backup and Restore your files (File History)](https://www.easeus.com/images/en/screenshot/todo-backup/guide/backup-and-restore-to-create-a-system-image-of-the-windows-pc.jpg "[Windows 11/10] Backup and Restore your files (File History)")


![[Windows 11/10] How to Reset (Reinstall) the Operating System - Setting Up Backup On Windows 11 Laptop](https://image6.slideserve.com/11706964/steps-to-backup-windows-11-l.jpg "[Windows 11/10] How to Reset (Reinstall) the Operating System")


")


 - microsoft.com")


