Step-by-Step Shoelace Tips for Kindergarten: Make Lacing Fun & Easy!
Teaching kindergarten kids to tie their shoelaces can feel like navigating a mountain of pull and loop—but with the right approach, it becomes a joyful, achievable milestone. Whether your child is newly learning or ready for a refresher, mastering shoelaces builds essential fine motor skills, confidence, and independence. This guide offers a clear, step-by-step shoelace tutorial specifically designed for young learners, packed with kid-friendly hacks, playful routines, and developmental insights to make shoe tying simple, confident, and fun.Why Shoelace Mastery Matters for Kindergarten Kids
Mastering shoelaces isn’t just about looking polished—it’s a vital part of daily self-care. For kindergarteners, learning to tie shoelaces supports hand-eye coordination, increases focus, and nurtures problem-solving abilities. More importantly, tying shoes boosts a child’s sense of accomplishment and independence, helping them feel ready to tackle daily routines with pride.Step-by-Step Shoelace Tips for Kindergarten: Master It Easily
- Start with the Right Shoelaces and Shoes Choose thick, soft laces that grip easily and shoes with reinforced eyelets. Avoid thin or slip-on styles that confuse tiny fingers. A well-fitted, comfortable shoe makes lacing more natural and less frustrating.
- Step 1: Cross the Left and Right Laces Gently cross the left lace over the right lace at the top of the shoe, forming an ‘X’. This simple snapping motion sets the foundation and gives kids visual excitement—watching the laces clash builds anticipation.
- Step 2: Create the Bunny Ears Pull each lace into two ‘bunny ears’—hold one lace and fold its ends into loops holding the base lace like ears. This step is classic for a reason: it simplifies lacing into manageable parts, perfect for young motor skills.
- Step 3: Make the First Loop Bring one bunny ear under the top lace, then up through the ‘mouth’ to form a simple loop. This loop begins securing the lace and introduces the concept of tendon crossings without pressure.
- Step 4: Pull Through the Loop Gently pull the loose ends through the loop, tightening gently but carefully. Encourage a small, confident tug—this step builds muscle memory and the feel of success.
- Step 5: Repeat for the Second Loop Now take the second bunny ear, loop it under the opposite lace, and pull through both ends to complete the knot. Repeat this twice to build rhythm and confidence, with lots of encouragement.
- Step 6: Adjust and Celebrate Loosen gently and adjust loops until they lie flat. Say “You did it!”—praise effort, not perfection. Momentum builds with joy, not pressure.
Pro Tips for Teaching Shoelaces in Kindergarten

- Use playful routines—turn lacing into a song, a story, or a mini-challenge. For example, “One bunny ear at a time!” or “Can you make a big bunny ear today?”
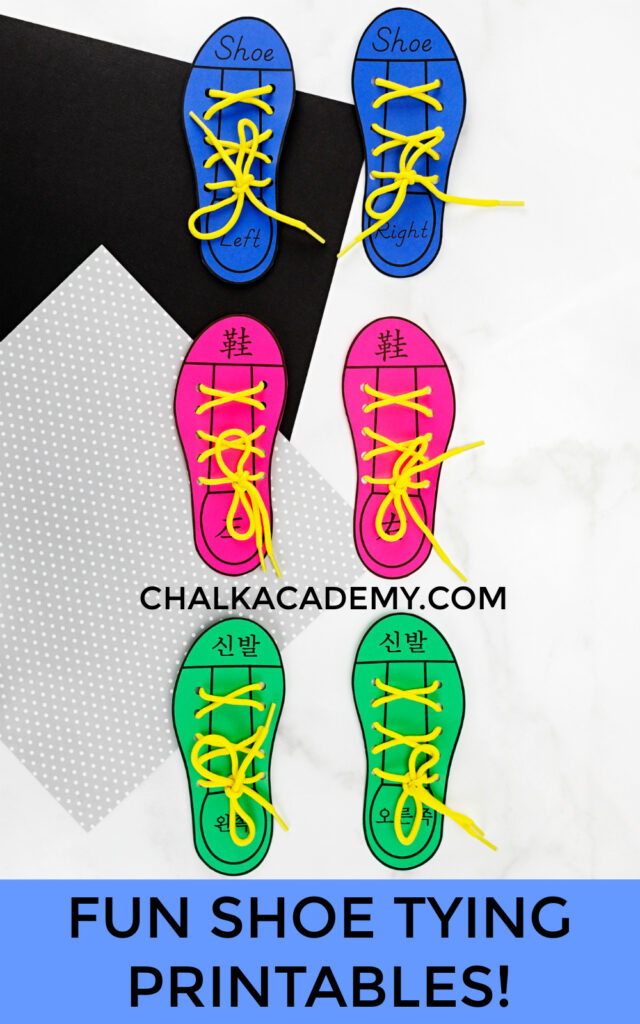
- Visual aids like lacing board models or illustrated step cards help kids follow each motion with clarity.**
- Pair lacing with real-life practice—practice daily, even for just 5 minutes, to build habit and skill over time.**
- Involve siblings or peers for role-play—kids learn fastest when they watch and imitate confident, patient models.**


")


