Mastering the Art: A Step-by-Step Guide on How to Tie Shoes
Few skills are as fundamental and universally useful as tying your shoes. From the moment we gain independence as children to ensuring a secure fit for our daily activities, the ability to properly knot a pair of laces is indispensable. Yet, for many, it remains a surprisingly elusive or sometimes frustrating task. Whether you're a parent teaching a child, an adult looking for a more secure knot, or simply someone who wants to refresh their technique, this comprehensive step by step guide on how to tie shoes is for you.
Before we dive into the mechanics, let's briefly consider why perfecting this skill is so important. For children, it's a huge step towards self-sufficiency and boosts their confidence. For athletes, a properly tied shoe can mean the difference between peak performance and a momentary distraction or even injury. For everyone else, it's about daily convenience and presenting a tidy appearance. Forget constantly re-tying loose laces; with this step by step guide on how to tie shoes, you'll achieve a knot that stays put.
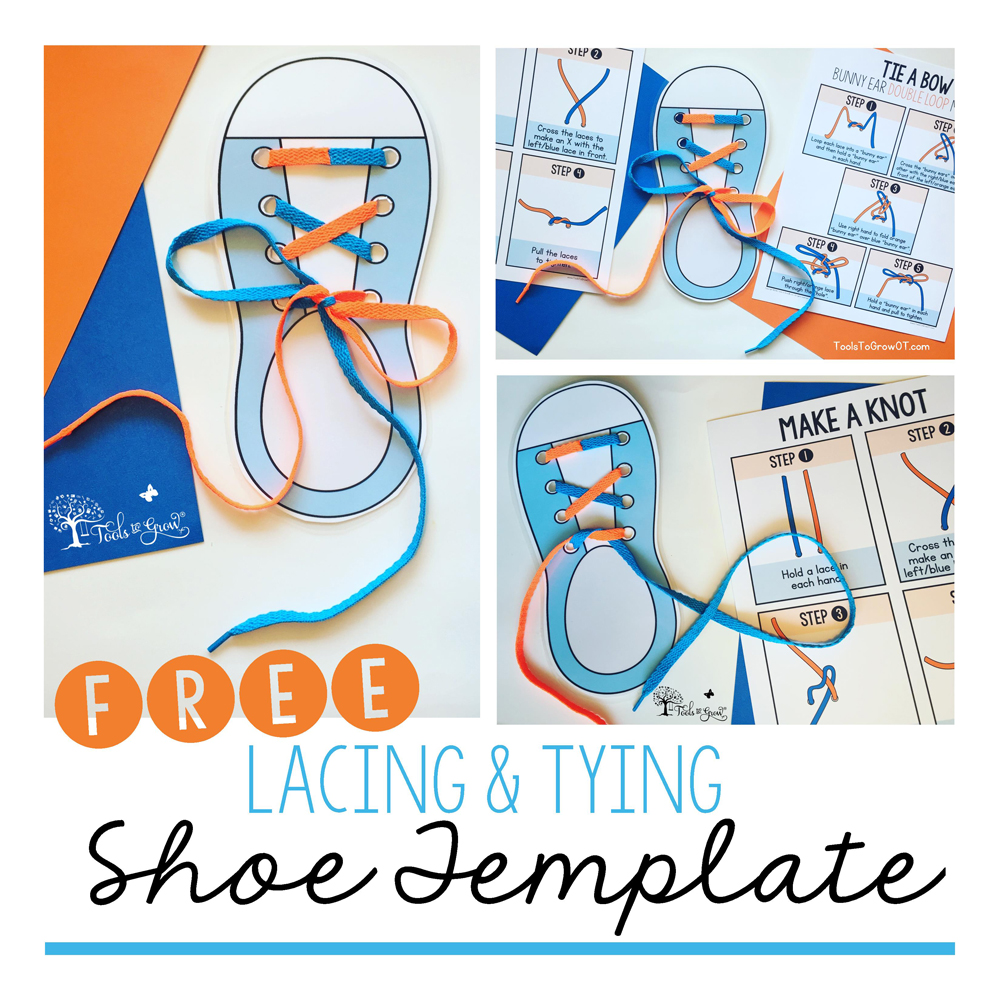
As we can see from the illustration, Step By Step Guide On How To Tie Shoes has many fascinating aspects to explore.
-
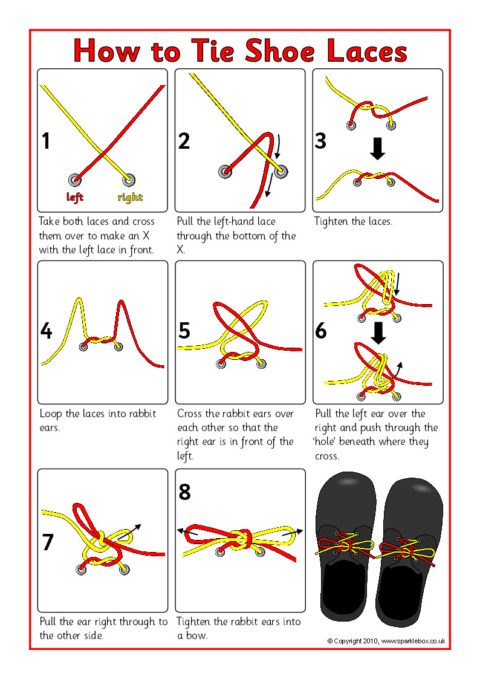
Step 1: The Initial Cross and Knot
Take one lace in each hand. Cross the right lace over the left lace, creating an "X" shape directly above the top eyelets. Now, tuck the end of the right lace under the left lace, passing it through the opening in the center of the "X". Pull both laces firmly, but gently, away from each other until a snug knot forms at the base of your shoelace array. This is the foundation of your knot, ensuring everything else stays secure.
-
Step 2: Form the First "Bunny Ear" Loop
With the laces still in your hands, take one lace (it doesn't matter which one, let's say the left one for now) and create a loop. Hold this loop between your thumb and forefinger. The loop should stand upright and be about 1-2 inches tall, resembling a rabbit's ear.
-
Step 3: Form the Second "Bunny Ear" Loop
Now, take the other lace (the right one) and create an identical loop. Hold this second loop between the thumb and forefinger of your other hand. You should now have two symmetrical loops, one in each hand.
-
Step 4: Crossing the Loops
Carefully cross the two loops over each other, just as you did with the initial laces in Step 1. For instance, cross the left loop over the right loop, forming another "X" shape with the two loops.
-
Step 5: Tucking and Pulling Tight
Take the top loop (the one that is now over the other) and tuck it underneath the bottom loop, threading it through the hole that formed in the middle of your "X" of loops. Once it's through, grasp both loops firmly and pull them away from each other simultaneously. You'll see the knot tighten, forming a secure bow.
-
Step 6: Adjust and Secure
Once you've pulled tight, give the loops a final tug to ensure the knot is snug against your shoe. Make sure the bow is centered and the loops are even. Congratulations, you've successfully followed this step by step guide on how to tie shoes using the classic method!
Furthermore, visual representations like the one above help us fully grasp the concept of Step By Step Guide On How To Tie Shoes.
Tips for Mastering Your Shoe-Tying Skills
- Practice Makes Perfect: Like any skill, repetition is key. Don't get discouraged if it doesn't come instantly. Keep practicing!
- Visual Aids: While this is a written step by step guide on how to tie shoes, watching a video or having someone demonstrate can greatly enhance your learning.
- Choose the Right Laces: Flat, cotton laces tend to be easier to grip and tie than slick, round, or synthetic ones, especially for beginners.
- Patience, Especially with Children: Learning takes time. Break it down into even smaller steps if necessary and celebrate every small victory.
- Don't Tie Too Tight or Loose: A well-tied shoe is snug but comfortable, allowing for foot movement without excessive pressure.


 - wikiHow")


