Installing 6G Router in Computer Lab
Introduction
In today's rapidly evolving tech landscape, hands-on experience is invaluable. Building your own network lab is an excellent way to gain practical knowledge, experiment with different configurations, and prepare for certifications like CCIE, CCNP, and other advanced networking courses. This blog post will guide you through the process of setting up your own network lab, whether you're a novice or an experienced network engineer.
Choosing the Right Router
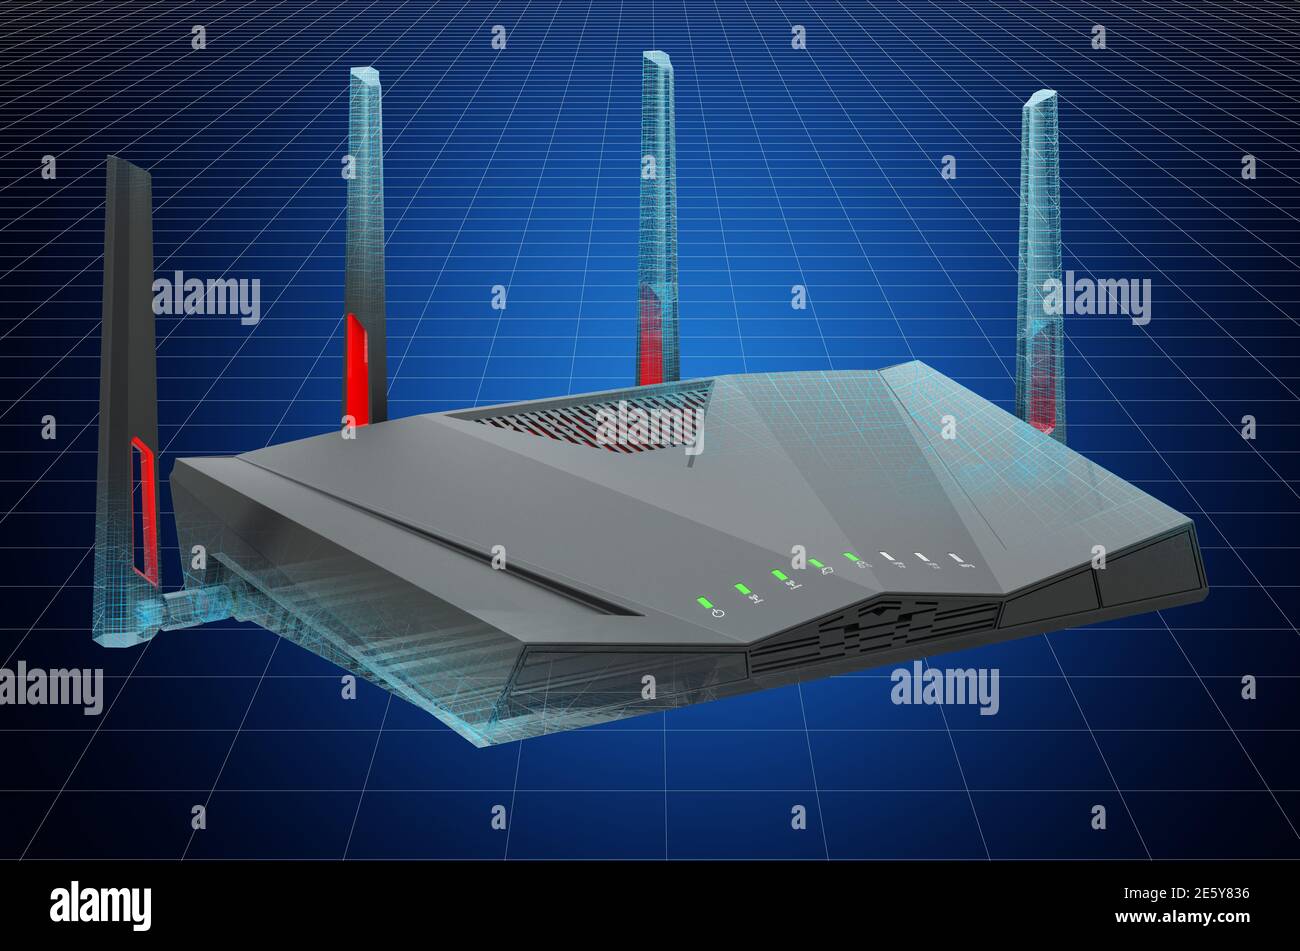
When setting up your network lab, the first step is to choose the right router. You'll want a router that supports the latest Wi-Fi 6 technology, which includes the 6 GHz band. This will provide more spectrum for increased speeds, better coverage, and lower latency. Some popular options include the Verizon Router, GFiber Wi-Fi 6E Router GR6EXX0C, and Archer AXE75 WiFi 6E Router.
Steps to Install a 6G Router in a Computer Lab
Configuring the Router
Configuring the router involves setting up the necessary parameters to ensure secure and reliable connectivity. This includes:
- SSID: Set a unique name for the network to identify it.
- Password: Set a strong password to secure the network.
- Network settings: Configure the IP address, subnet mask, and default gateway.
- Wi-Fi settings: Enable or disable the 2.4GHz and 5GHz bands, and set the channel and band steering settings.
- Firewall settings: Configure the firewall to block or allow incoming and outgoing traffic.
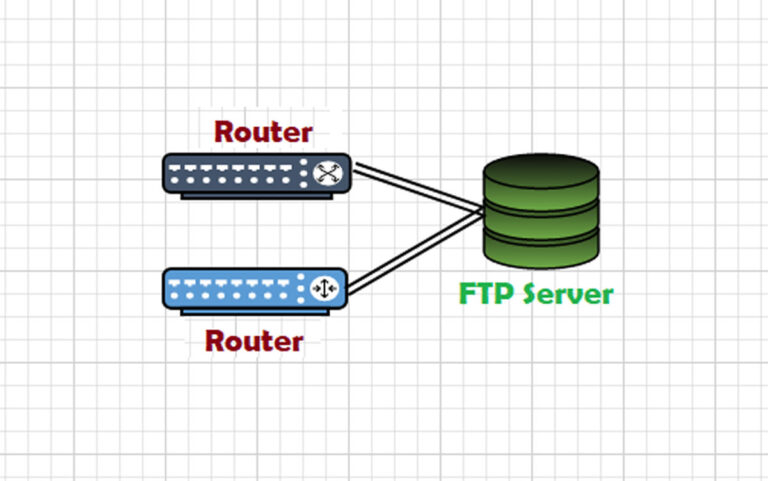
Connecting to the Router

Once the router is configured, you can connect to it using a computer or mobile device. Follow these steps:
Connect the computer to the router using an Ethernet cable.
Access the router's web interface by typing the IP address in a web browser.
Login to the router's web interface using the admin username and password.
Configure the wireless settings, such as enabling or disabling the 2.4GHz and 5GHz bands.
Save and apply the changes.


 - ITE v7")


 to work on Windows 10? - UserComp")
 to work on Windows 10? - Super User")


.gif "How to Enable 6 GHz Band Using Intel® Wi-Fi 6E or Wi-Fi 7 Products")


