Rolling pasta by hand is one of the most rewarding kitchen skills, offering both creative joy and authentic flavors. Whether you dream of crafting thin ribbons of spaghetti or hearty bundles of fresh pappardelle, learning to roll pasta from scratch opens a world of homemade culinary excellence. This beginner’s pasta rolling guide with photography tips will walk you through each essential step—like shaping dough evenly, mastering thickness control, preventing sticking, and cutting perfect strands—so your homemade pasta never looks or tastes store-bought again. Pasta rolled by hand carries a soul you simply can’t replicate with store-bought sheets. With the right mindset, tools, and technique, even unpracticed hands can produce satisfying results every time. In this guide, we share proven methods and expert photography tips to help you track your progress, refine your roll, and capture your creative process visually—perfect for recipe blogs or personal reference.
Why Roll Pasta by Hand?
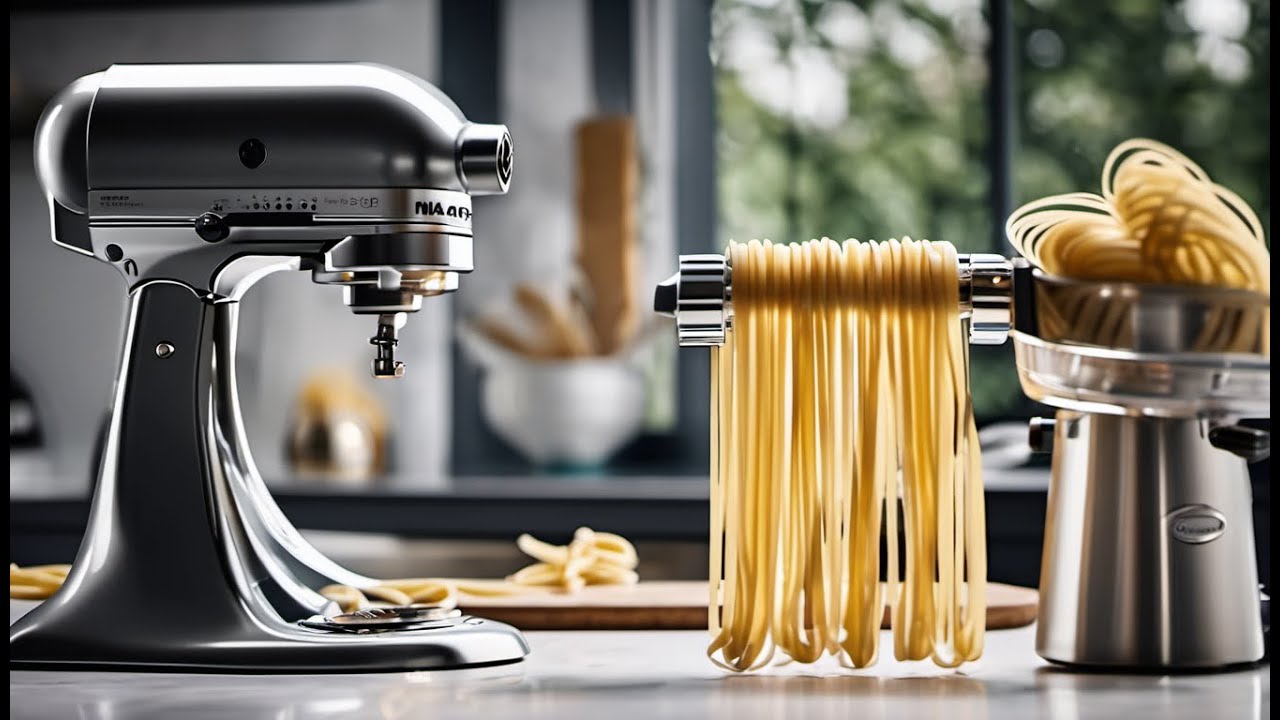
Using a rolling pin instead of a pasta machine transforms pasta-making into a meditative ritual. Working the dough by hand enhances texture and control, ensuring each strand or sheet is uniform. You’ll feel the dough’s consistency, adjust toughness as needed, and gain a deeper connection to the food you create. Plus, this approach is budget-friendly, portable, and accessible to everyone—no machine required.Gathering Your Tools & Ingredients
To begin your beginner’s pasta rolling journey, assemble these simple essentials: - A clean work surface, ideally our favorite: a long, flat marble or granite surface for even rolling - A French rolling pin—straight and narrow, from 24 to 30 cm works best to avoid twisting the dough - High-quality flour—Typical Italian "00" flour or bread flour is ideal for elasticity - A bowl of water or olive oil to dampen dough if it sticks Having everything ready helps maintain flow, so you stay focused on the rhythm of rolling rather than searching for tools mid-process. Compact, clear photography of your setup will later clarify each step for students or future cooks.Step 1: Preparing Your Dough

Step 2: Rolling Without Machine – The Beginner’s Method
With your dough rested, place a portion on your floured surface. Use the rolling pin with straight, even strokes—imagine drawing dough into paper-thin sheets. Let thickness guide you: perfect spaghetti needs about 1 millimeter. Roll side to side, rotating the dough often to keep it round and prevent unwanted thickness. *Note: This photo shows documentation of consistent pressure and shape for clarity.*
Occasionally dust the dough with flour to prevent tackiness—don’t over-dry it. Thinned sections may require gentle re-flours or a light splash of water, but aim to keep the dough soft, not sticky.
For classic shapes, hand-cut pasta demands patience and precision. Use a sharp chef’s knife to slice dough into thin ribbons—fold the dough in half, measure even lengths, and slice gently to avoid tearing. For sheets, use a ruler and knife in a sawing motion on a flat rolling surface.
Photographing cross-sections helps illustrate the difference between machine-thin pasta and hand-cut strips—clear details for learners.
*Note: This photo shows documentation of consistent pressure and shape for clarity.*
Occasionally dust the dough with flour to prevent tackiness—don’t over-dry it. Thinned sections may require gentle re-flours or a light splash of water, but aim to keep the dough soft, not sticky.
For classic shapes, hand-cut pasta demands patience and precision. Use a sharp chef’s knife to slice dough into thin ribbons—fold the dough in half, measure even lengths, and slice gently to avoid tearing. For sheets, use a ruler and knife in a sawing motion on a flat rolling surface.
Photographing cross-sections helps illustrate the difference between machine-thin pasta and hand-cut strips—clear details for learners.
Step 4: Tips to Master Thickness & Don’t Stick
Furthermore, visual representations like the one above help us fully grasp the concept of Beginner’S Pasta Rolling Guide With Photography Tips.
- Roll in a slightly dusted crab shell shape to maintain evenness - Rest pieces in a floured cloth between shaping to prevent sticking - Use a ruler or pasta gauge for consistent thickness - Roll slowly—speed often means uneven results - Keep your dough criss-cross folded periodically for similar thickness A smartphone camera angled at a 45-degree angle captures these details, highlighting best practices with visual clarity.

")


:max_bytes(150000):strip_icc()/sea-pasta-makers-test-kitchenaid-3-piece-maker-attachment-set-rkilgore-1617-7ecee241db60470797b5971b833c576b.jpeg "How to Roll and Cut Fresh Pasta with or without a Machine")


